Start Your Journey Today

Start working with our enrollment team to find the best path forward.

XR Foundations: Designer

Please send me information about the XR Foundations: Designer program when it becomes available.

Developing for VR with Quest 2 & Unity for the First Time – A Step-by-Step Guide

October 9, 2020

Getting Started Developing for VR

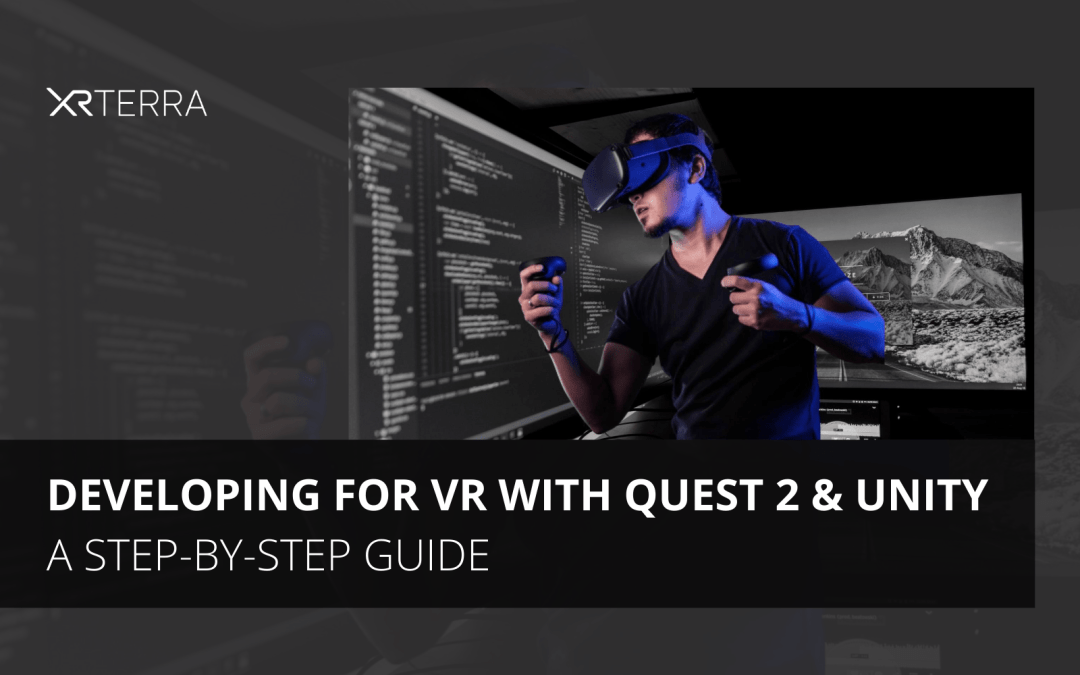
With the arrival of the Oculus Quest 2, we know a lot of new people will be inspired to create their very first VR experiences. That is why we have put together this step-by-step guide to getting started developing for VR with your Quest 2. Pull up a chair and get ready to develop for the Quest platform!

The first thing to acknowledge if you are new to XR development is that you need three things to create a VR application:

  1. A Game Engine
  2. An SDK (Software Developer Toolkit)
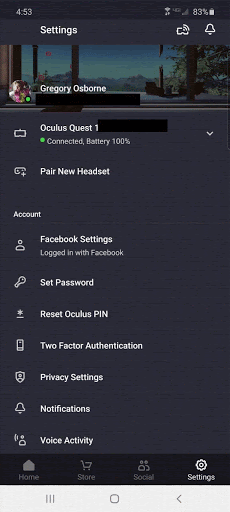
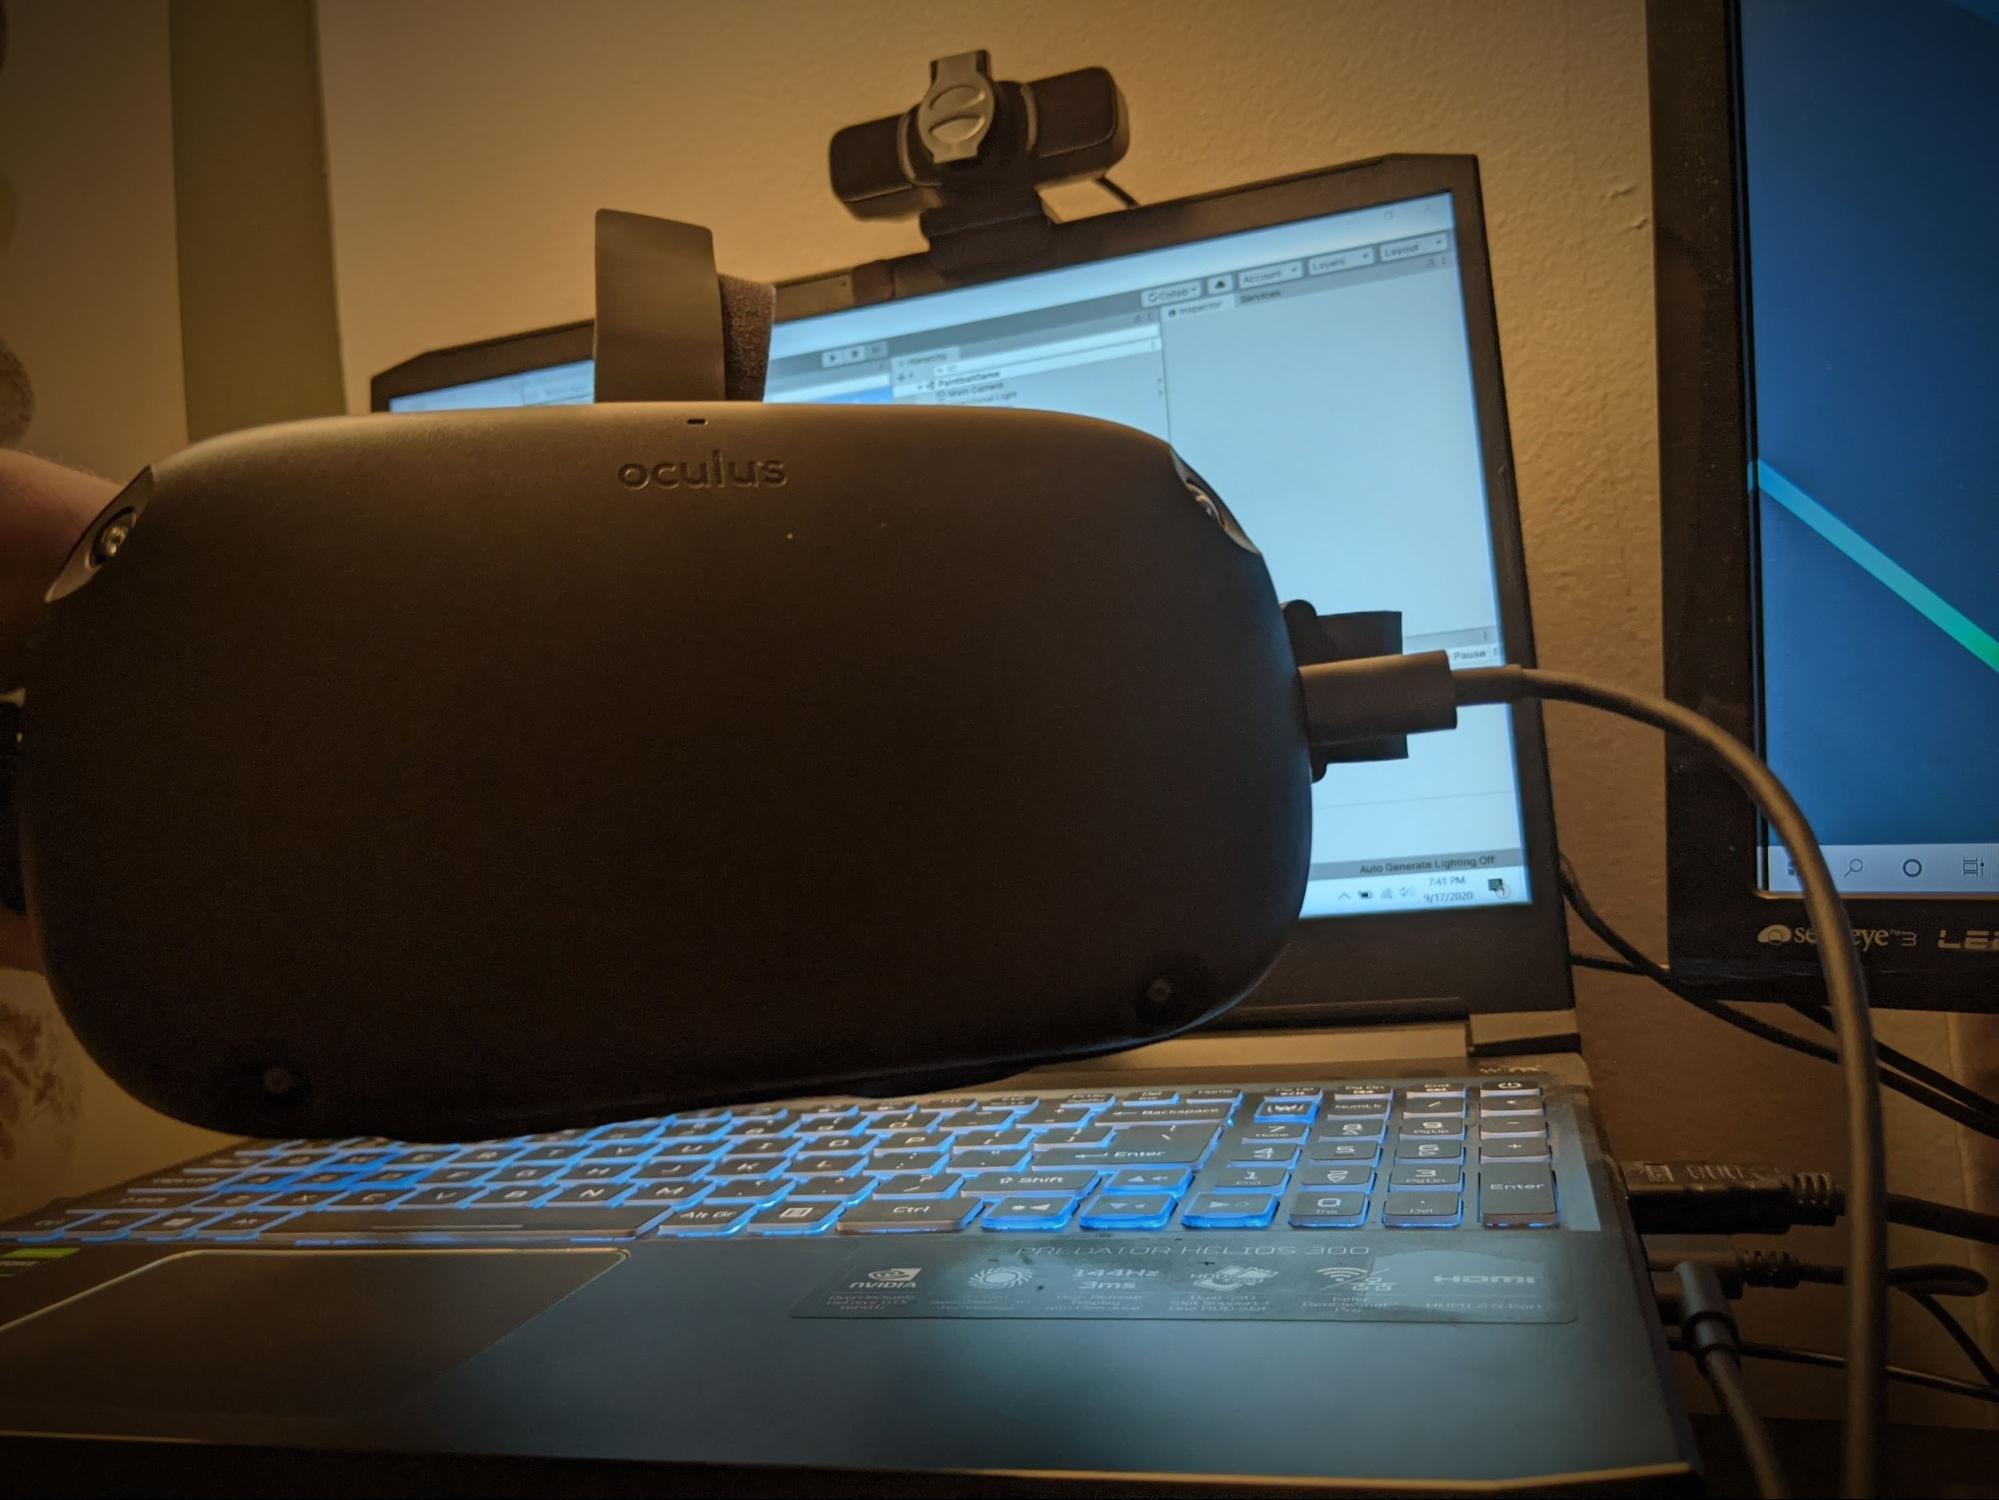
  3. A VR Headset (+ compatible USB cord & the Oculus Smartphone App)

In this article, the three of these that we will look at are the most popular choices for VR at the current moment:

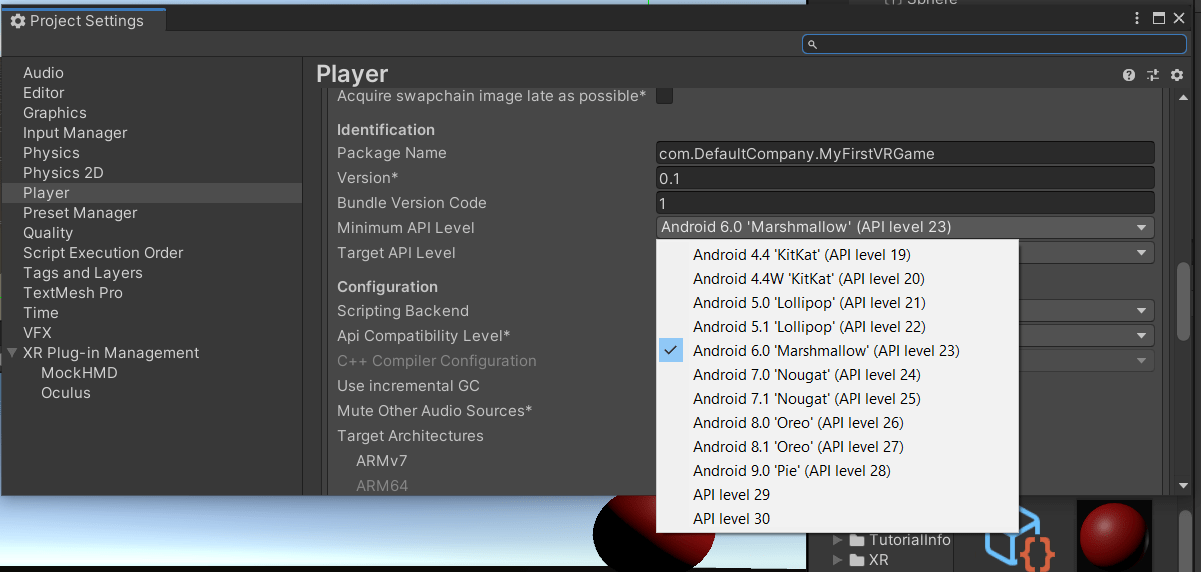
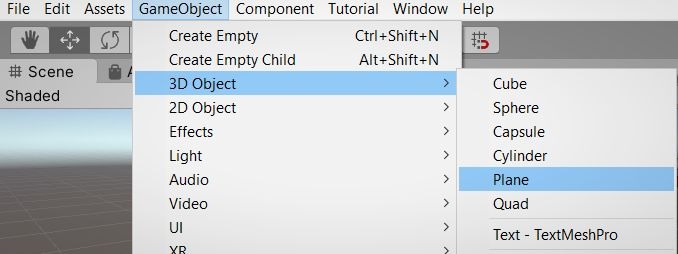
The Unity Game Engine
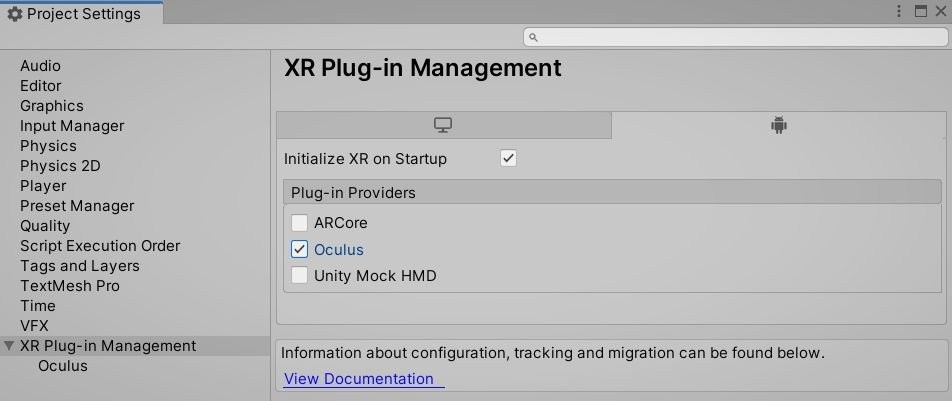
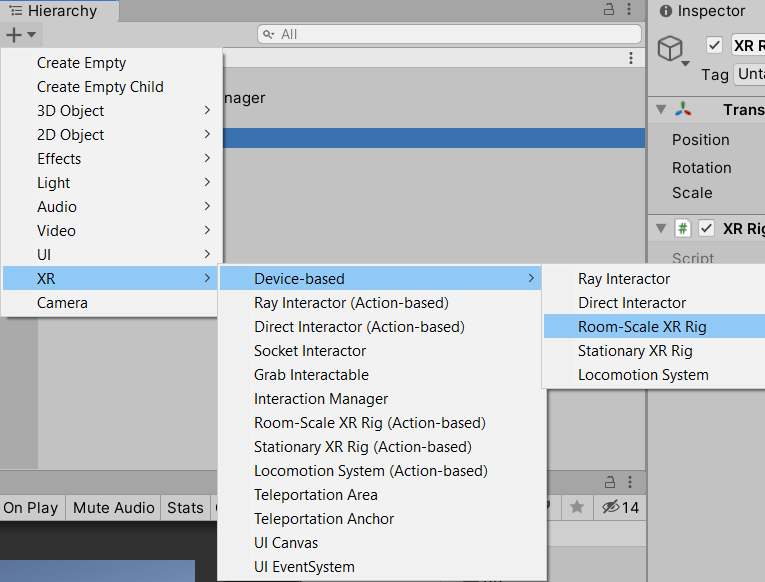
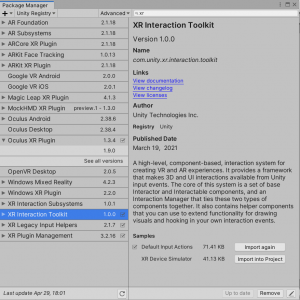
The Unity XR Interaction Toolkit
The Oculus Quest or Oculus Quest 2

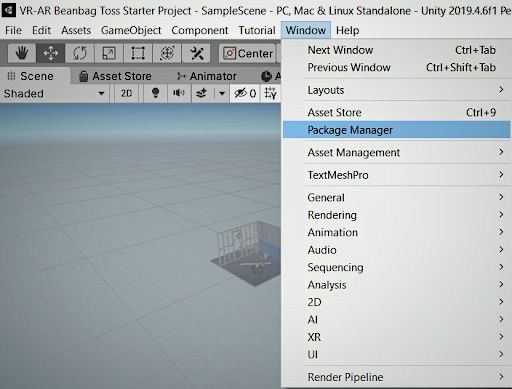
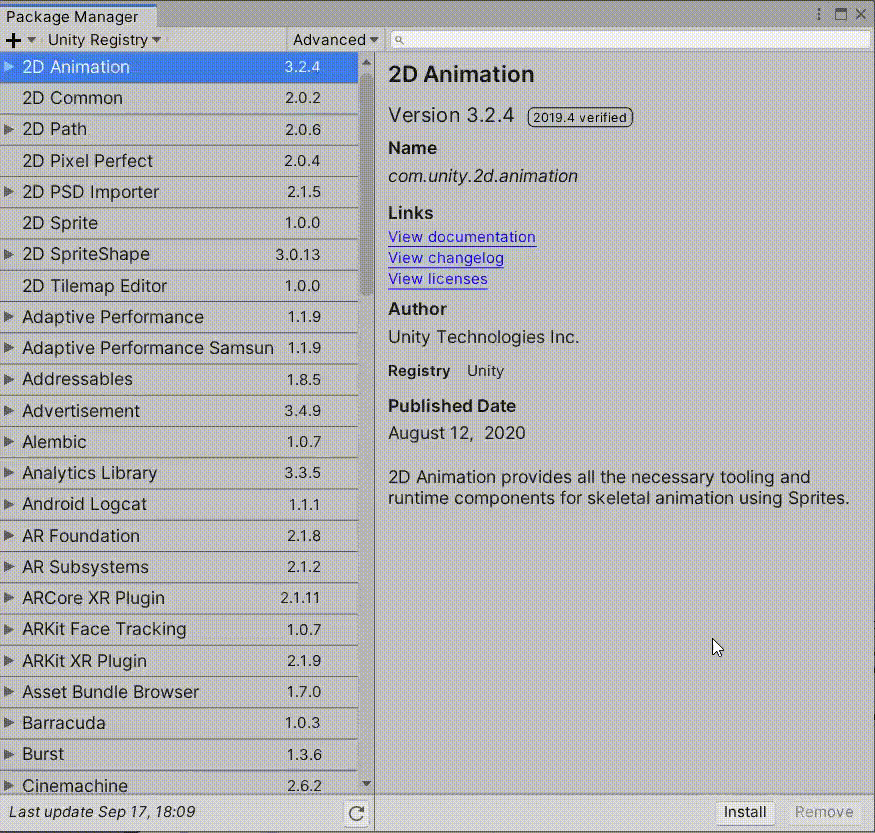
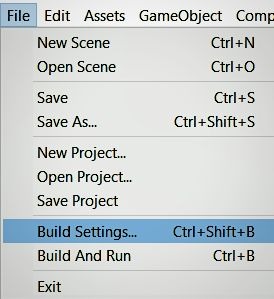
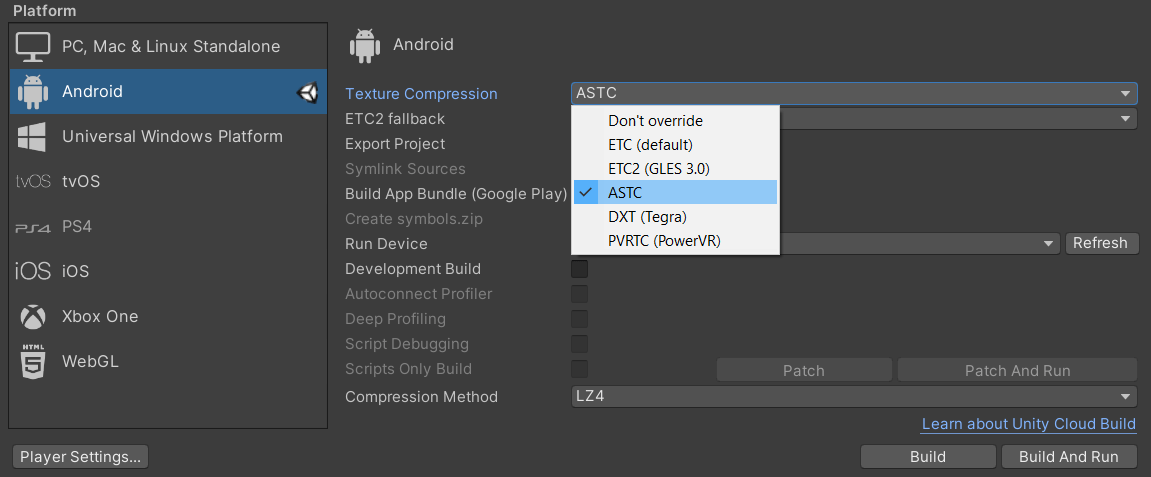
Not coincidentally, these are the tools we work with most commonly in our 8-Week VR Developer Bootcamp. Let’s use them now to get you up and running. For this guide, you will not need to know C# or write any code. Also, we will use the Unity Interface and other GUI software to configure everything for your VR scene.

Additionally, do you want the chance to take care of some of these steps and download a free VR game at the same time? Try this SideQuest tutorial, and then come back to this article when you’re ready to develop your own game.

Step by Step Guide

  1. Set up the Right Version of Unity
  2. Adding Modules
  3. Add the XR-Related Unity Packages to Your Project
  4. Project Build Settings
  5. Creating a Quick Scene
  6. Android Tools and Sideloading Time
  7. Getting your phone and Quest ready

Step 1. Set up the Right Version of Unity

Unity is constantly updating and improving its software by creating new versions. In order to pick the version we need, you need to follow a few steps:

Download Unity Hub

Developing for VR begins with downloading Unity

Whether or not you use the free or paid version, you will need to create a license in order to use Unity. You can either follow the instructions in this video linked here, or follow the directions below.

  1. Click on the gear icon in the top-right-corner next to the profile icon.
  2. Navigate to ‘License Management’, and then click on the blue “Activate New License” button.
  3. From the window that pops-up, select the appropriate license you will be using. (Thankfully, the Unity Personal license is free!)

If you get lost in these written steps, there is always the video instructions.

Once Unity Hub is installed, you can download Unity itself. From installs, Select the right version of Unity:

  • Use the “Installs” Tab in Unity Hub to find and select the version you want to use:
  • Note: To support the XR Interaction Toolkit (i.e., VR functionality) must be versions 2019.4 or later.
  • Ideally, choose a version with Long Term Support (LTS).

Step 2. Adding Modules

Under the Installs Tab, add these modules to your version of Unity:

  • If this is your first time using Unity, you will want to add “Microsoft Visual Studio 2019”; it’s a very nice Integrated Development Environment (IDE) for coding in C# within Unity (which most Unity devs use).
  • You will need to check the box for “Android Build Support” since the Oculus Quest is technically an Android device (The Quest runs on a customized build of Android 7, and the Quest 2 runs on Android 10.)

Step 3. Add the XR-Related Unity Packages to Your Project

Note: Adding the Unity Packages required for XR will be a process you repeat for every new Oculus Quest project. You will get used to it over time.

Create a new Unity Project from Unity Hub.

  • Make sure to save your project somewhere you can find it later.
  • For “template”, the choice between 3D, 3D with Extras, and the Universal Render Pipeline are a little too detailed to explain in this article. However, we can tell you that while either would work for a starter VR project, the ‘Universal Render Pipeline’ has more optimized graphics (which you will learn to appreciate as you get further into VR development).
  • Choose ‘Universal Render Pipeline’.
  • Once selected, hit the “Create” button.

Now that your project is both created and open, use Unity’s ‘Package Manager’ to import a couple of VR-related packages into your project:

In the drop-down menu, on the top left, find ‘Window > Package Manager’, and open the ‘Package Manager’.

Once the Package Manager window shows up, you can either scroll through the list or type in the search-bar to look for packages.

  • From the Package Manager, Click ‘Advanced’> ‘Show Preview Packages’.

Now, Find and Install these three packages with the Install button in the bottom right corner of the window:

  • The ‘XR Interaction Toolkit’ package
  • The ‘XR Plugin Management’ package
  • The ‘Oculus XR Plugin’

Now, with packages installed, you are ready to start changing the ‘build settings’ of your project!

Step 4. Project Build Settings

First, in the dropdown menu at the top left, navigate to ‘File > Build Settings’.

From Build Settings, you will want to switch your platform from PC to Android because, technically, the Oculus Quest is an Android device. (The Quest runs on a customized build of Android 7, and the Quest 2 runs on Android 10.)


  • Do this by selecting ‘Android’ in the list of ‘Platforms’ and clicking on ‘Switch Platform’ in the bottom right of the window
  • (Note: Currently, your project is empty, but in the future, this may take a while depending on how many assets in your project you need to reimport; ideally you would do this step before you’ve added anything into your project.)

Next, in the Build5 setting that will show up, Change the “Texture Compression” dropdown to ‘ASTC’.

Now, in the drop-down menu at the top left of Unity, navigate to ‘Edit > Project Settings’ and, in the window that pops-up, select ‘XR Plugin Management’.

Click on the ‘robot icon’ in the-top-right to bring up plugins for standalone devices, and check the box next to ‘Oculus’. It may take a minute to import. This is normal.

Now, you will need to adjust your ‘player settings’. Navigate back to ‘Edit > Project Settings’, and from the list on the left of the window select ‘Player’.

Name your Company and your Product Name. This will make it easier to find your app once it’s on your Quest device.

Then scroll down and find the “Minimum API Level” and set it to at least level 23 (6.0 marshmallow)

Step 5. Creating a Quick Scene

You need something to load onto your Quest device!

To do this, you have two options for the settings when creating your scene. There is the fast option, the “device based rig” option (by following the steps directly below)

or

You can use the most up-to-date option, “the action based rig” which takes a little longer… This is outlined at step 5a (Scroll down past the Device Based Rig Option Directions to view.)

Device based rig Option:

Create a new scene by navigating to ‘File > New Scene’.

With the ‘XR Interaction Toolkit’ installed, you should be able to navigate to ‘GameObject > XR > Device Based > Room-Scale XR Rig. For some, the action based rig may not track controllers first try, but the Device based rig will, and the priority is to make sure building and running onto the headset works.

Add a floor to stand on in your scene by going to ‘GameObject > 3D Object > Plane’.

Save your Scene: ‘File > Save’

Now that is saved, navigate back to ‘File > Build Settings’, and below the box at the top, click ‘Add Open Scenes’, and un-check the starting ‘Sample Scene’.

Step 5A. (Optional Alternative to Step 5)

Using the Action-Based Rig (Optional)
Unity’s new input system has a couple of useful features that you might want to use. In order to take advantage of the New Input System, you will want to use the Action-Based XR Rig (instead of the Device Based one). Note that these use different components from each other.
First Step: Go to the package manager, and under the XR Interaction Toolkit Window, find the “Default Input Actions” and import them.

  • After the “Default Import Actions” are imported, you will find the newly imported input action asset in your project folder.

  • Select the “XRI Default Left Controller”, and in the inspector, click the button near the top that says “Add to ActionBasedController default”. Then do the same thing for the XRI Default Right Controller.

  • Selecting this will add all the preset actions into the XR Rig. However, unfortunately the Rig prefab won’t be able to differentiate between right and left controller inputs unless you then go into Edit > Project Settings > Preset Manager and add a “right” and “left” filter to the newly created boxes. Do that now.

  • Now you can go ahead and add the Room-Scale XR Rig (Action-based) into your scene hierarchy

  • Finally, in order to make sure your input action asset is active in the scene, add the Input Action Manager component onto either an empty game object in your scene or onto the newly created XR Rig. Add a slot for an input action asset, and drag in the XRI Default Input Actions asset.
  • Navigate back to ‘File > Build Settings’, and below the box at the top, click ‘Add Open Scenes’, and un-check the starting ‘Sample Scene’.”

Step 6. Android Tools and Sideloading Time

Sideloading is a term used in the developer community that means installing an APK file onto an Android device. (APK stands for Android Package File.) Since the Quest devices are built on Android, sideloading means the same thing here.

In short, you will be sideloading an APK file from Unity onto your Quest device.

But, before we can sideload an APK file from Unity to your Oculus Quest, you need to first install some Android Development tools.

6 a. Install Android Developer Tools

  • Download Android Studio. Note: the Mac Download is on a different page)
  • After Installation, when you open Android Studio, find the ‘Configure’ button near the bottom right, click on it and select ‘SDK Manager’

Install any version of the SDK later than 4.4 Kitkat, API Level 23 (Use Level 19 or higher if Level 23 is not available), by checking the box and hitting “Apply” at the bottom right corner of the window.

Check the SDK Tools Tab to make sure you have Android SDK Build-Tools and Android SDK Platform-Tools installed.

6 b. Register with Oculus as a Developer

Now, in order to turn on Developer Mode on your Quest, you will need to register as a developer with Oculus:

Go to the Oculus phone app on your phone (The one you used originally to set up your Quest.)

  • Make sure your headset is turned-on and nearby so that your phone can connect to it.
  • Once you see that your Oculus device is connected to your phone, follow these directions to enable developer mode
  • Video Directions: https://youtu.be/CQ6TcLwSGag?t=260

Log in to your Oculus account.

6 c. Windows Users only: Download  ADB Drivers (This step not required for Macs)

If you are on a PC, download these drivers (Mac owners do not need to follow this step):

Extract the files

  • Navigate to the ‘androidwinusb.inf’ file> right click>install. Then, click ‘open’. Allow any messages

Step 7. Getting your phone and Quest ready

Now that you have followed the directions for enabling developer mode on your Quest, go get your smartphone and the USB cord you plan on using to connect your Quest to your computer…

Start with your smartphone

Find your headset in the Oculus phone app, and click on it to make sure it is enabled

Select ‘More Settings’, click on ‘Developer Mode’, and enable it.

  • You may be asked to create a Developer certificate. Accept.

Now the developer mode is enabled for the Quest through your phone, reboot your Oculus Quest by turning it off and on.

After it has rebooted, Connect your Quest device to your computer using a USB cord. (The charging cord that came with your quest will work as long as your computer has a USB C port.)

  • If you don’t have that kind of cord, you can shop for a compatible cord or adapter (USB C to USB or Get an Adapter).
  • If your computer does not have a USB C port, check to see if your Android smartphone charging cable will work.

Now that your Quest is plugged into your computer, look inside your VR headset.

There might (or might not) be a pop-up that asks you to “allow USB Debugging”. If so, click ok (using the Oculus Quests’ controllers.)

  • If you get an “Oculus Link” pop up. Click “Not Now.”
  • If it asks you to set up a guardian, go ahead and do so.
  • Then, take off your headset.

Go back to Unity and check to make sure your headset is recognized when it is plugged in.

  • Navigate back to  ‘File > Build Settings’, and see if your device is recognized under ‘Run Device.
  • (Note: You may need to hit the refresh button, seen below, after plugging in your headset.)

Now click ‘Build and Run’ at the bottom right of the ‘Build Settings’.

Name your build (and ideally save it in its own Builds folder.)

Be sure to wait for the build to complete before putting on your headset!


Behold, you have created a VR world with Unity! No longer are you confined to the limits of this reality.

If the app doesn’t start automatically when you put on the Quest, go to your ‘apps tab’ in your Quest device and find the section called “Unknown Sources”, where you can find the app by the name you gave it (e.g., MyFirstVRApp”).

If everything worked, you should be able to see your floor and a couple of red lines coming from your Controllers!

Congratulations

You have now, hopefully, built your first application for the Oculus Quest or Quest 2! Now, it is up to you to add items to your scene in VR.

Want to take your new VR dev skills further?

 Save your seat in an upcoming cohort!

Interested in learning XR?

Build an exciting careers in the Metaverse. Gain the skills to create the future with bootcamps led by our AR/VR resident experts.

Want more content like this?

Signup for our newsletter to receive content like this weekly and we’ll send you a guide of our best posts from the last year.

Subscribe To Our Updates!